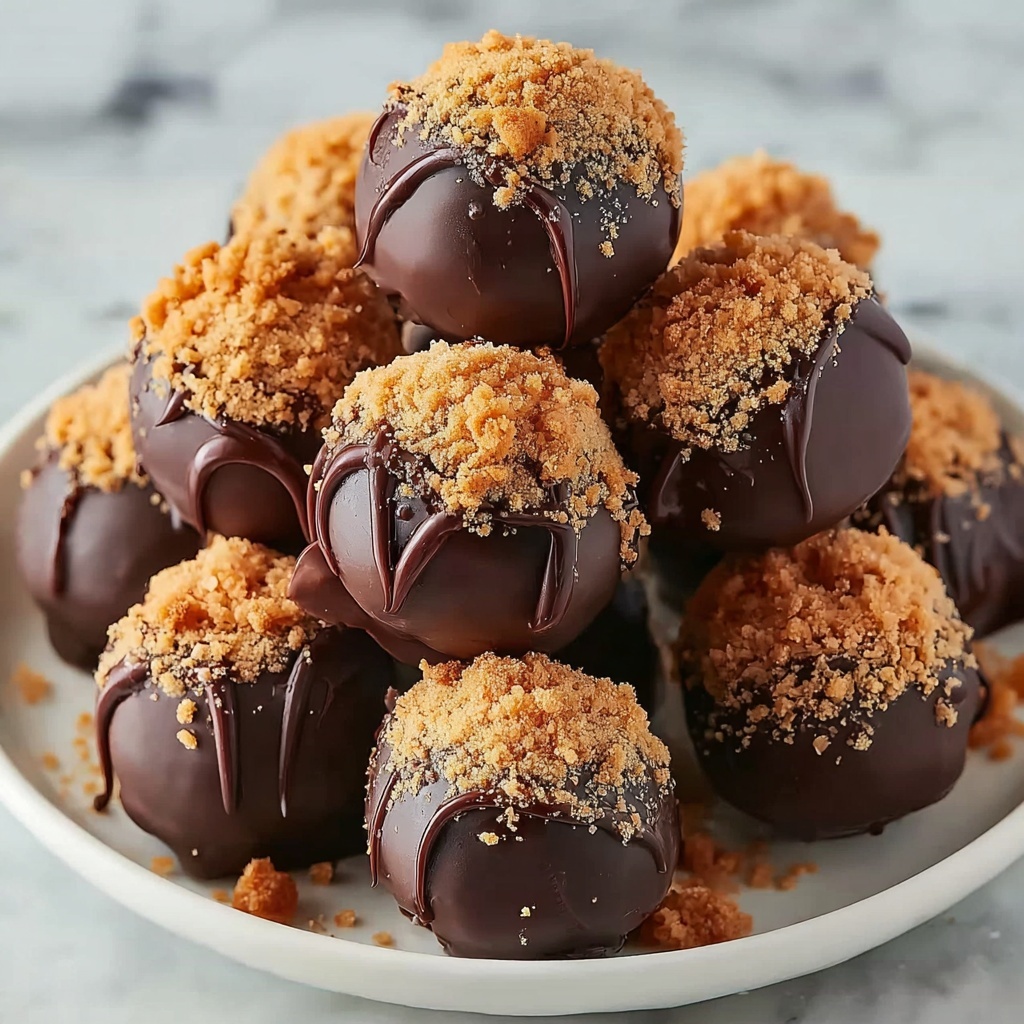
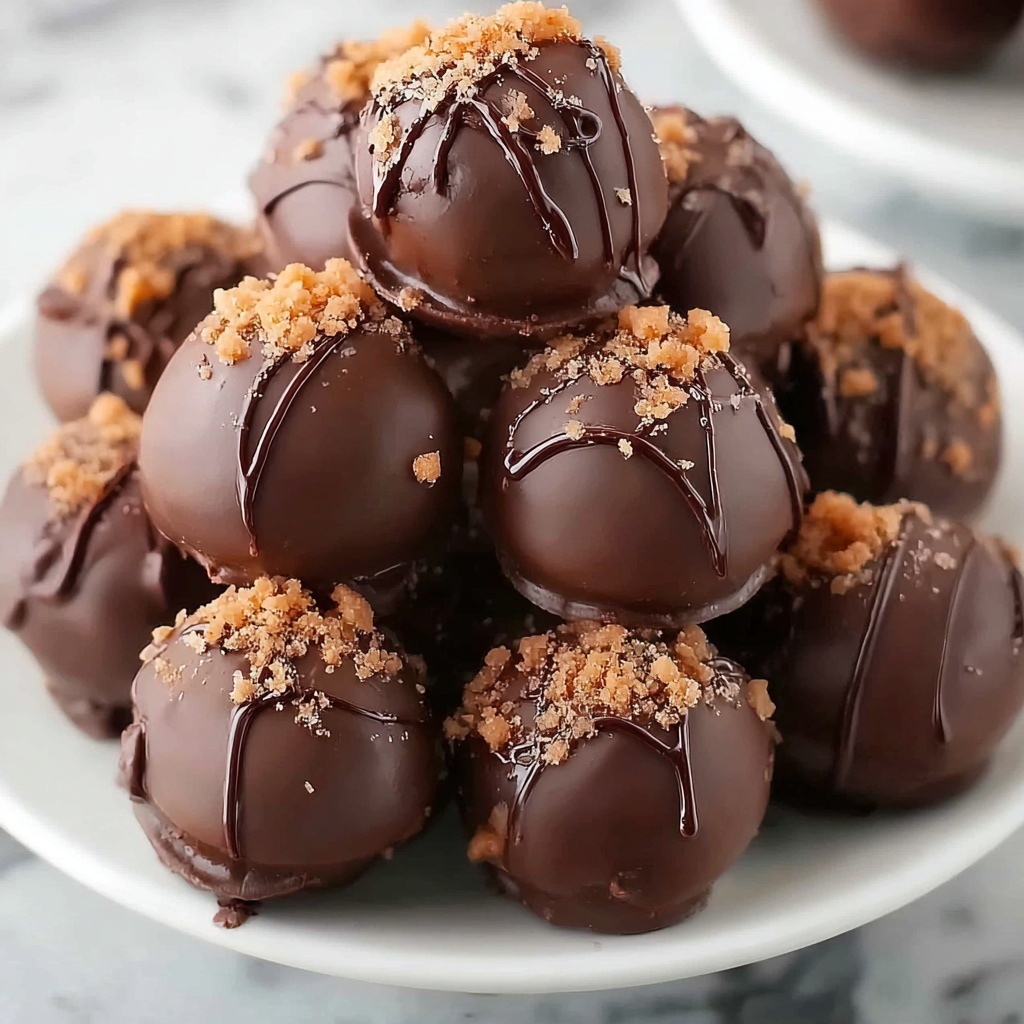
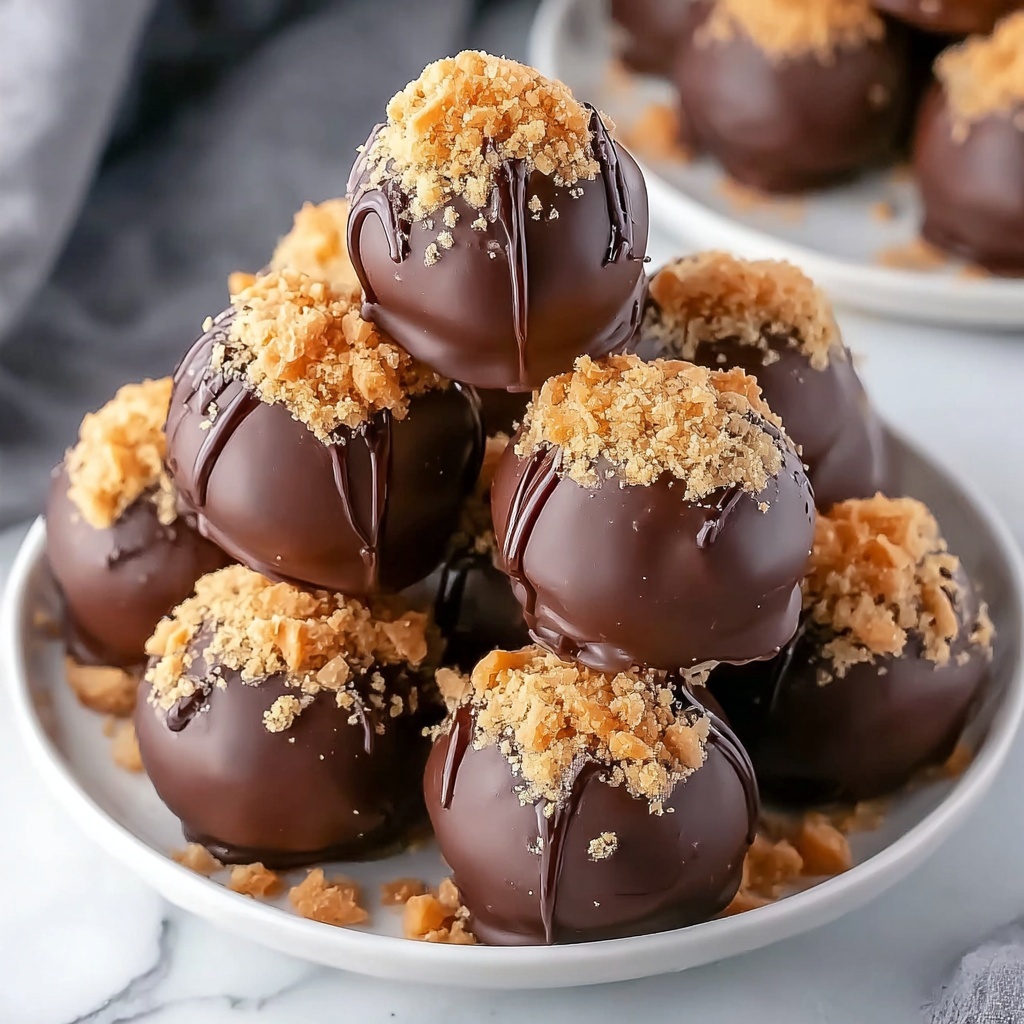
There is something simply magical about combining crunchy candy, creamy goodness, and rich chocolate into one bite-sized treat. This Easy Butterfinger Balls Recipe brings all of those comforting textures and flavors together effortlessly, perfect for parties, desserts, or anytime you need a sweet pick-me-up. Imagine crisp Butterfinger candy crushed into a creamy blend of cream cheese and powdered sugar, then dipped in silky chocolate—the best kind of indulgence that’s surprisingly simple to make. Whether you’re a longtime Butterfinger fan or just discovering these treats, this recipe is sure to become a staple in your sweet recipe rotation.
Ingredients You’ll Need
Each ingredient in this recipe plays a vital role, creating the perfect balance of creamy, crunchy, and chocolatey notes. The simplicity of the ingredients also means you can whip up these balls quickly without hunting for anything obscure. Here’s what you’ll need to get started:
- Butterfinger candy bars (2 cups, crushed): Adds that iconic crunchy peanut butter flavor that’s the soul of this recipe.
- Cream cheese (1 8-ounce package, softened): Provides a silky, tangy base that holds the mixture together.
- Powdered sugar (2 cups): Sweetens the mix while ensuring a smooth texture without any grittiness.
- Vanilla extract (1 teaspoon): Brings out a lovely warmth and depth of flavor, elevating the sweetness naturally.
- Semi-sweet chocolate chips (2 cups): For that luscious outer coating that encases each butterfinger ball in pure bliss.
- Coconut oil or vegetable oil (1 tablespoon, optional): Helps achieve a glossy, smooth chocolate coating that’s easy to work with.
How to Make Easy Butterfinger Balls Recipe
Step 1: Prepare the Creamy Filling
Start by softening your cream cheese at room temperature; this ensures it blends smoothly with your powdered sugar and vanilla extract. Beat these together until silky and free of lumps. Once your base is perfectly creamy, gently fold in the crushed Butterfinger candy bars. This step is where the magic happens—the crunchy candy melds with the creamy base, creating a dreamy texture that forms the heart of your butterfinger balls.
Step 2: Shape Your Candy Balls
Now for the fun part! Take spoonfuls of your candy-cream mixture and roll them into perfect 1-inch balls. Don’t worry if they aren’t perfectly round—that adds to their homemade charm. Lay each ball on a parchment-lined baking sheet and pop it in the freezer for about 30 minutes. This chilling time firms them up and makes the next steps easier and less messy.
Step 3: Melt the Chocolate Coating
While your balls chill, melt the chocolate chips. Microwave them in 20-second bursts, stirring well after each interval until smooth and velvety. Adding a tablespoon of coconut or vegetable oil at this stage is a clever trick—it thins the chocolate, making it easier to dip and resulting in a shiny finish once it sets. This liquid chocolate is what will transform your simple balls into decadent delights.
Step 4: Dip and Coat with Chocolate
Remove your chilled balls from the freezer and one by one, dip each into the melted chocolate. Make sure each ball is completely covered so every bite has that irresistible chocolate shell. Place them back onto the parchment paper for the coating to set. Work quickly but carefully to avoid any cracks or uneven coatings.
Step 5: Chill and Set
Pop the chocolate-coated balls into the refrigerator for 10 to 15 minutes or until the chocolate hardens beautifully. This final chill locks in that perfect texture and keeps the balls refreshing and delightful. Once set, they’re ready to serve or store for later enjoyment.
How to Serve Easy Butterfinger Balls Recipe
Garnishes
Sprinkle a pinch of crushed Butterfinger candy or a few sea salt flakes on top of the chocolate coating just before it sets for a festive touch. For a colorful twist, try drizzling some white chocolate in thin lines over the balls to create a pretty contrast. These little touches add personality and make your butterfinger balls look as good as they taste.
Side Dishes
Although these balls shine on their own, pairing them with a glass of cold milk or a cup of hot coffee elevates the experience tremendously. If you want to turn these treats into a party platter, serve alongside other bite-sized desserts like mini brownies, chocolate-dipped pretzels, or fresh berries. The variety keeps things exciting and lets everyone find their favorite pairing.
Creative Ways to Present
Presentation can turn your Easy Butterfinger Balls Recipe from simple to spectacular. Arrange the balls in colorful mini cupcake liners or on decorative skewers for a playful dessert tray. For a holiday twist, pile them in a festive bowl surrounded by candy canes or edible glitter. These ideas are perfect for birthdays, holiday gatherings, or any time you want to impress without stress.
Make Ahead and Storage
Storing Leftovers
Once made, these butterfinger balls keep wonderfully in an airtight container in the refrigerator for up to a week. Keeping them chilled maintains the perfect balance of creamy filling and firm chocolate coating, so they’re always ready whenever a craving strikes.
Freezing
If you want to make a large batch ahead of time, freezing these treats is a great option. Simply place them in a single layer on a baking sheet to freeze initially, then transfer them to an airtight container or freezer bag. Frozen butterfinger balls maintain their flavor and texture for up to a month, thawing perfectly when ready to serve.
Reheating
There’s really no need to heat these up, but if you prefer your butterfinger balls a little softer, remove them from the fridge and let them sit at room temperature for 10–15 minutes before enjoying. Avoid microwaving, as this can cause the chocolate to melt unevenly and the filling to become too soft.
FAQs
Can I use other candy bars instead of Butterfinger?
Absolutely! While Butterfinger gives a unique peanut butter crunch, feel free to experiment with other crushed candy bars like Heath, Snickers, or even peanut M&M’s. Just keep in mind the flavor and texture will vary with each substitution.
Is there a way to make these gluten-free?
Yes, if you use gluten-free Butterfinger bars (check labels carefully) and ensure your other ingredients are gluten-free, this recipe can be adapted. The key is confirming there’s no hidden gluten in any component.
Can I skip the oil when melting chocolate?
Yes, you can skip the oil, but it helps thin the chocolate for a smoother, shinier coating that’s easier to dip. Without oil, the chocolate may be thicker and harder to work with, though it will still taste delicious.
How long do these Butterfinger balls last at room temperature?
Because of the cream cheese, it’s best to keep them refrigerated and not leave them out at room temperature for more than 2 hours to maintain freshness and safety.
What’s the best way to crush the Butterfinger candy bars?
Place the candy bars in a sealed plastic bag and gently crush them with a rolling pin or the bottom of a heavy pan. You want small, uneven pieces so that you keep a nice crunch without large chunks disrupting the texture.
Final Thoughts
If you’ve been searching for a dessert that’s both nostalgic and effortlessly impressive, this Easy Butterfinger Balls Recipe is your new best friend. It’s simple, fun, and packed with flavors that delight everyone who tries them. I can’t wait for you to make these bite-sized treats and share the joy with your friends and family—because nothing brings people together like homemade sweets made with a little love and a lot of Butterfinger magic.
Print
Easy Butterfinger Balls Recipe
- Prep Time: 20 minutes
- Cook Time: 0 minutes
- Total Time: 1 hour (including freezing and chilling time)
- Yield: 24 servings
- Category: Dessert
- Method: No-Cook
- Cuisine: American
Description
These Easy Butterfinger Balls are a delightful no-bake treat combining crushed Butterfinger candy bars with creamy cream cheese and powdered sugar, all coated in smooth melted chocolate. Perfect for parties or anytime you want a sweet, crunchy, and creamy bite-sized indulgence made with simple ingredients and minimal prep time.
Ingredients
Filling
- 2 cups crushed Butterfinger candy bars
- 1 (8-ounce) package cream cheese, softened
- 2 cups powdered sugar
- 1 teaspoon vanilla extract
Chocolate Coating
- 2 cups semi-sweet chocolate chips
- 1 tablespoon coconut oil or vegetable oil (optional)
Instructions
- Prepare the Filling: In a mixing bowl, beat the softened cream cheese, powdered sugar, and vanilla extract together until the mixture is smooth and creamy, ensuring all ingredients are well combined.
- Fold in the Butterfinger: Gently fold the crushed Butterfinger candy bars into the cream cheese mixture, distributing the candy evenly without breaking it down too much.
- Form the Balls: Roll the mixture into 1-inch balls using your hands and place them on a parchment-lined baking sheet to prevent sticking.
- Freeze the Balls: Put the baking sheet with the balls into the freezer for about 30 minutes so that the balls firm up and hold their shape for dipping.
- Melt the Chocolate: In a microwave-safe bowl, melt the semi-sweet chocolate chips in 20-second increments, stirring thoroughly after each session to avoid burning. If desired, stir in 1 tablespoon of coconut oil or vegetable oil to achieve a smoother, shinier coating.
- Coat the Balls: Using a fork or dipping tool, dip each chilled Butterfinger ball into the melted chocolate, making sure the ball is fully covered. Place the coated balls back onto the parchment-lined baking sheet.
- Chill and Set: Refrigerate the chocolate-coated balls for 10 to 15 minutes until the chocolate has fully set and hardened.
- Serve or Store: Serve the Butterfinger balls immediately or keep them stored in an airtight container in the refrigerator for up to one week to maintain freshness.
Notes
- Use parchment paper for easy removal and to prevent sticking.
- Freezing the balls before dipping helps maintain their shape and makes dipping easier.
- The coconut oil in the chocolate melts helps produce a glossy finish and smoother texture.
- Store leftover balls in an airtight container in the refrigerator to keep them fresh up to one week.
- For a festive twist, consider sprinkling a bit of crushed Butterfinger or sea salt on top of the chocolate before it sets.


